The rise of Image to Video AI tools has opened up exciting possibilities for creators, marketers, and even casual users. These platforms promise to transform static images into dynamic videos with minimal effort, making them an appealing solution for anyone looking to create engaging content quickly. However, as with any new technology, the journey of adopting Image to Video AI can feel daunting, especially for beginners.
If you’re new to this technology, you might have questions about how to get started, what to expect, and how to make the most of these tools. This guide will walk you through the process of adopting Image to Video AI realistically, focusing on practical tips, common challenges, and how to improve your workflow over time.
What Is Image to Video AI?
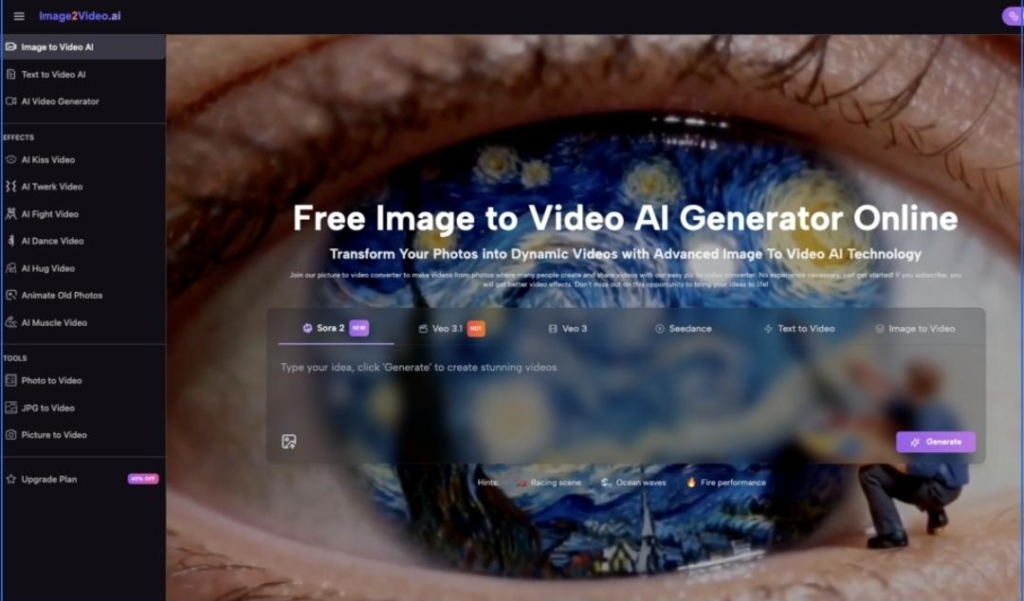
At its core, Image to Video AI uses artificial intelligence to animate static images, creating videos that include transitions, effects, and even music. Whether you’re a marketer looking to create product videos or a content creator aiming to add life to your photos, these tools can save time and effort compared to traditional video editing.
For example, many platforms, including free online tools, allow you to upload a photo, describe the desired outcome in natural language, and let the AI handle the rest. In just a few minutes, your image is transformed into a short video, ready to be shared on social media, websites, or personal projects.
Why Beginners Often Struggle with Image to Video AI
While the concept sounds simple, first-time users often face a steep learning curve. Here are some common challenges:
- Unrealistic Expectations: Many users expect Hollywood-level results immediately. In reality, AI tools are powerful but not perfect.
- Trial-and-Error Frustration: The process of finding the right prompts, effects, or settings can feel overwhelming at first.
- Technical Hiccups: Compatibility issues, slow processing times, or unfamiliar interfaces can make the experience frustrating.
- Limited Customization: Free versions of tools often have restrictions, such as shorter video lengths or fewer customization options.
Understanding these potential roadblocks can help you approach Image to Video AI with the right mindset.
A Beginner-Friendly Workflow for Using Image to Video AI
If you’re new to Image to Video AI, here’s a simple step-by-step workflow to get started:
- Choose the Right Tool
Not all Image to Video AI platforms are created equal. Look for a tool that:
- Supports common image formats like JPEG or PNG.
- Offers a free version so you can experiment without financial commitment.
- Has a user-friendly interface designed for beginners.
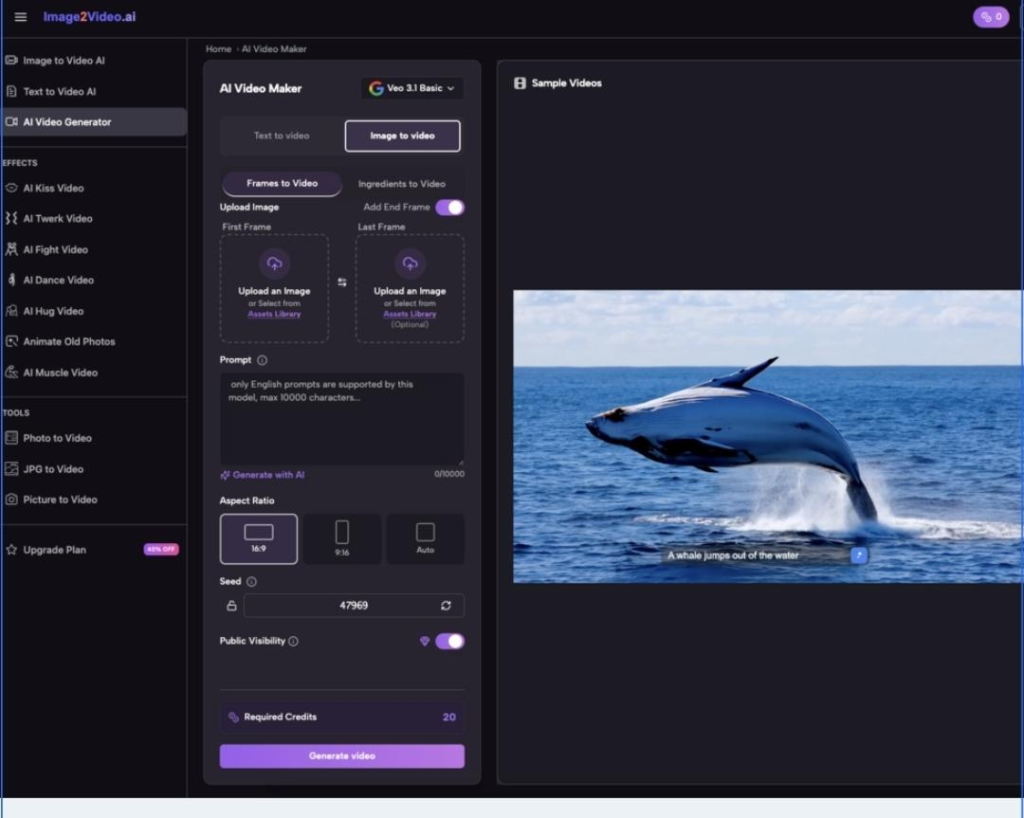
For example, many free online platforms allow you to upload your images and convert them into videos in just a few steps.
- Start Small
Begin with a single photo or a small batch of images. Trying to animate an entire gallery or create a complex video right away can lead to frustration. Focus on learning the basics:
- Upload one photo.
- Experiment with simple prompts (e.g., “add smooth transitions”).
- Explore default effects and settings.
- Use Clear and Simple Prompts
Many tools allow you to describe your vision in natural language. For instance, you might type something like, “Create a slideshow with zoom-in effects and soft background music.” Be specific, but avoid overly complex instructions, especially in the beginning.
- Review and Adjust
Once the tool processes your request, review the output. Ask yourself:
- Does the video match your vision?
- Are the transitions and effects smooth?
- Is the video quality acceptable?
Don’t hesitate to tweak your inputs and try again. Trial and error is a natural part of the learning process.
- Share and Gather Feedback
After creating your first few videos, share them with friends, colleagues, or on social media. Constructive feedback can help you refine your approach and discover new ideas.
Adjusting Expectations: What Image to Video AI Can and Can’t Do
It’s important to understand the limitations of Image to Video AI, especially when you’re just starting out. Here’s a breakdown of what to expect:
What It Can Do
- Quickly Animate Static Images: Turn photos into short videos with transitions, effects, and music.
- Save Time: Automates tasks that would take hours in traditional video editing software.
- Enhance Creativity: Provides access to tools like dynamic zoom, cinematic effects, and motion controls.
What It Can’t Do (Yet)
- Replace Professional Editing: While AI tools are impressive, they can’t fully replicate the precision and creativity of manual editing.
- Understand Complex Prompts Perfectly: AI may misinterpret vague or overly detailed instructions.
- Handle All Use Cases: For highly specific or niche projects, traditional editing might still be necessary.
By recognizing these capabilities and limitations, you can set realistic goals and avoid disappointment.
Common Misconceptions About Image to Video AI
Let’s address some myths that might be holding you back from trying Image to Video AI:
Myth 1: It’s Only for Professionals
Reality: Most Image to Video AI tools are designed for beginners. You don’t need advanced technical skills to get started—just a willingness to experiment.
Myth 2: The Results Are Always Perfect
Reality: AI tools are not magic. While they can produce impressive results, you may need to refine your inputs or make manual adjustments to achieve your vision.
Myth 3: It’s Too Expensive
Reality: Many platforms offer free versions with basic features. You can upgrade to premium plans later if you need advanced capabilities.
Myth 4: It Replaces Creativity
Reality: AI is a tool, not a replacement for your creative vision. Think of it as a way to enhance your ideas, not automate them entirely.
Practical Tips for Improving Your Workflow
As you gain experience with Image to Video AI, consider these tips to streamline your process:
- Organize Your Assets: Keep your images in a dedicated folder and name them clearly to save time during uploads.
- Experiment with Effects: Most tools offer a library of transitions, filters, and animations. Take time to explore these options and find your favorites.
- Plan Ahead: Before creating a video, outline your vision. What story are you trying to tell? What mood do you want to convey?
- Leverage Templates: Some platforms provide pre-designed templates for specific use cases, such as social media ads or personal slideshows. These can be a great starting point.
The Gradual Path to Mastery
Adopting Image to Video AI is not about achieving perfection overnight. It’s a journey of gradual improvement. Here’s what that might look like:
- First Week: Learn the basics. Create simple videos to understand how the tool works.
- First Month: Experiment with different features, such as music, transitions, and text overlays.
- Three Months: Develop a consistent workflow. Start incorporating AI-generated videos into your projects or social media strategy.
- Six Months and Beyond: Explore advanced features, invest in premium plans if needed, and refine your skills to create professional-quality videos.
Final Thoughts: Embrace the Learning Curve
Using Image to Video AI for the first time can feel overwhelming, but it’s also an exciting opportunity to expand your creative toolkit. By starting small, managing your expectations, and embracing a mindset of experimentation, you can unlock the full potential of this technology.
Remember, the goal isn’t to create perfect videos from day one. Instead, focus on learning, improving, and discovering how these tools can fit into your unique workflow. With time and practice, image to video can become a powerful ally in your creative journey.